Hello guys!
Today I am going to show you how to integrate Twitter in Android using Fabric SDK.
First of all go to Fabric and Sign Up for an account if you haven’t already have one.
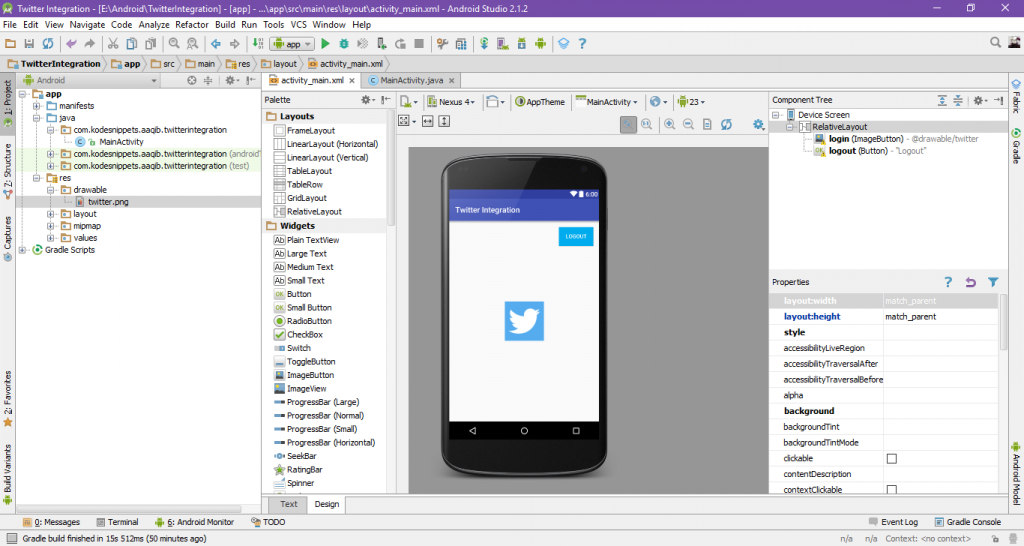
The open your project. I already have set up a simple layout and written their references to the buttons and Listeners in MainActivity.

After that being done. Click on your project Settings, then plugin.

Then Click Browse repositories. After that type in Fabric and Install Fabric For Android Studio.

After Android Studio reopens. In top of your bar click the Fabric Icon. It will open a window on right side. Click on the power button. It will ask you for your Fabric login credentials. Enter them and log in.

When login completes it will create a project and will show your project package name. Select it, then Next.
On new screen it will list all the Kits provided by Fabric, select Twitter then on next page select Install.

It will ask you to create twitter account, (if you already have one you’ll need to add its credentials). For now click Create Account.

Next, it will ask you to show you the changes it will apply to your project. Click Apply.

Create two variables, once gradle finishes syncing. Don’t forget to add onActivityResult in your class.
|
1 2 3 4 5 6 7 8 9 10 11 12 13 14 15 |
TwitterAuthClient twitterAuthClient; TwitterSession twitterSession; //Instantiate twitterSession after setContentView; like below TwitterAuthConfig authConfig = new TwitterAuthConfig(TWITTER_KEY, TWITTER_SECRET); Fabric.with(this, new Twitter(authConfig)); setContentView(R.layout.activity_main); twitterAuthClient = new TwitterAuthClient(); //Also add onActivityResult @Override protected void onActivityResult(int requestCode, int responseCode, Intent intent) { super.onActivityResult(requestCode,responseCode,intent); twitterAuthClient.onActivityResult(requestCode, responseCode, intent); } |
Then in your Login Button listener. call the following method.
|
1 2 3 4 5 6 7 8 9 10 11 12 13 14 15 16 17 18 19 20 21 22 23 24 25 26 27 28 29 30 31 32 33 34 35 36 37 38 39 40 41 42 |
private void twitterLogin(){ twitterAuthClient.authorize(this, new Callback<TwitterSession>() { @Override public void success(Result<TwitterSession> result) { twitterSession = result.data; Twitter.getApiClient(twitterSession).getAccountService().verifyCredentials(true, false, new Callback<User>() { @Override public void success(Result<User> userResult) { User currentUser = userResult.data; String name = currentUser.name; String userName = currentUser.screenName; String profilePicture = currentUser.profileImageUrl; TwitterSession twiiterSession = Twitter.getInstance().core.getSessionManager().getActiveSession(); String userId = String.valueOf(twiiterSession.getUserId()); Log.d("name",name); Log.d("userName",userName); Log.d("profilePicture",profilePicture); Log.d("userId",userId); login.setVisibility(View.GONE); logout.setVisibility(View.VISIBLE); Toast.makeText(getApplicationContext(),name+"\n"+userName+"\n"+profilePicture+"\n"+userId,Toast.LENGTH_LONG).show(); } @Override public void failure(TwitterException e) { } }); } @Override public void failure(TwitterException exception) { } }); } |
Lastly, in your Logout Button listener, do the following.
|
1 2 3 4 5 6 7 8 9 10 |
if (twitterSession != null) { Twitter.getSessionManager().clearActiveSession(); twitterSession = null; Twitter.logOut(); Log.d("Logged Out!","Logged Out!"); login.setVisibility(View.VISIBLE); logout.setVisibility(View.GONE); Toast.makeText(getApplicationContext(),"Logged Out", Toast.LENGTH_SHORT).show(); } |
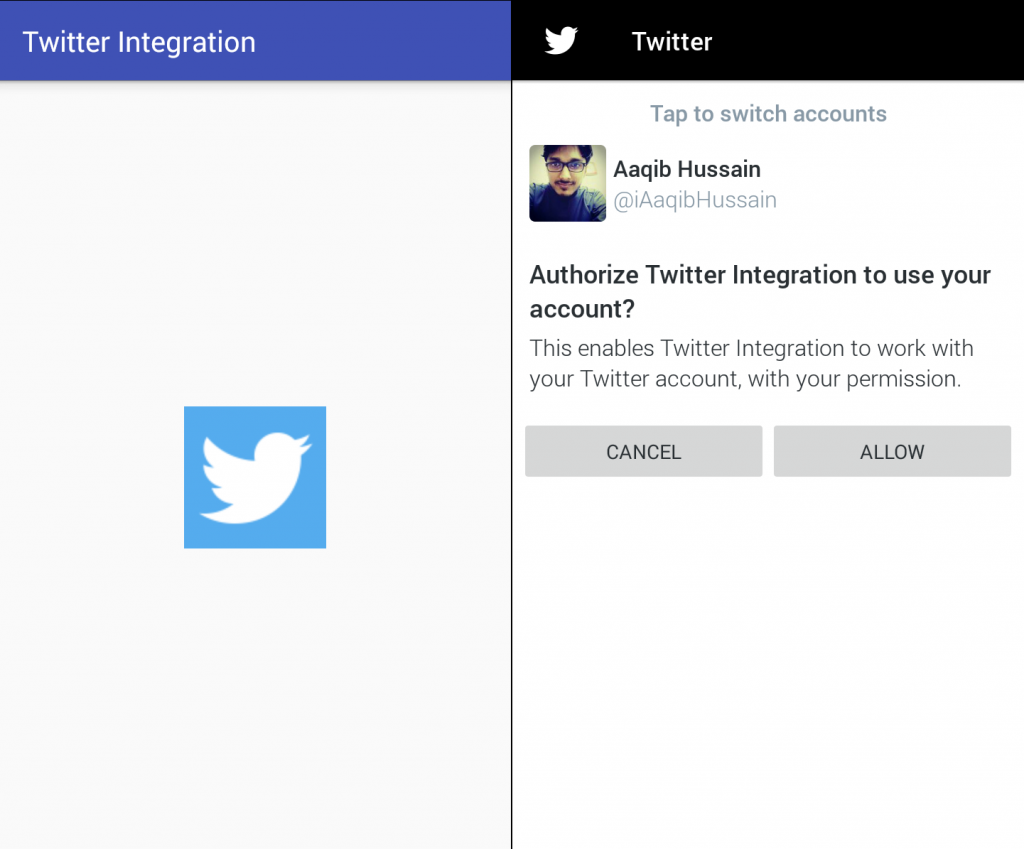
Run your project. Click twitter icon. Then Allow.

You’ll get your username, name, profile picture link and user id as soon as you’re logged in.

NOTE:
Your Image url will be something like “734074822397943809/nWcfwCDj_normal.jpg”. If you want the original picture, you’ll need to remove the substring _normal and make it like “734074822397943809/nWcfwCDj.jpg” to get the original size picture.
That’s all for the day.
If you have any question, leave a comment.
Link to project on Github.
See you all next time. 🙂


